A class in Naayya is any group activity that happens at a specific location and time. It is the umbrella term for everything your studio offers. Classes include regular sessions, special workshops, one-time events, and ongoing series. Each class has its own schedule, pricing, and booking options customers can book and attend.
Creating your first class#
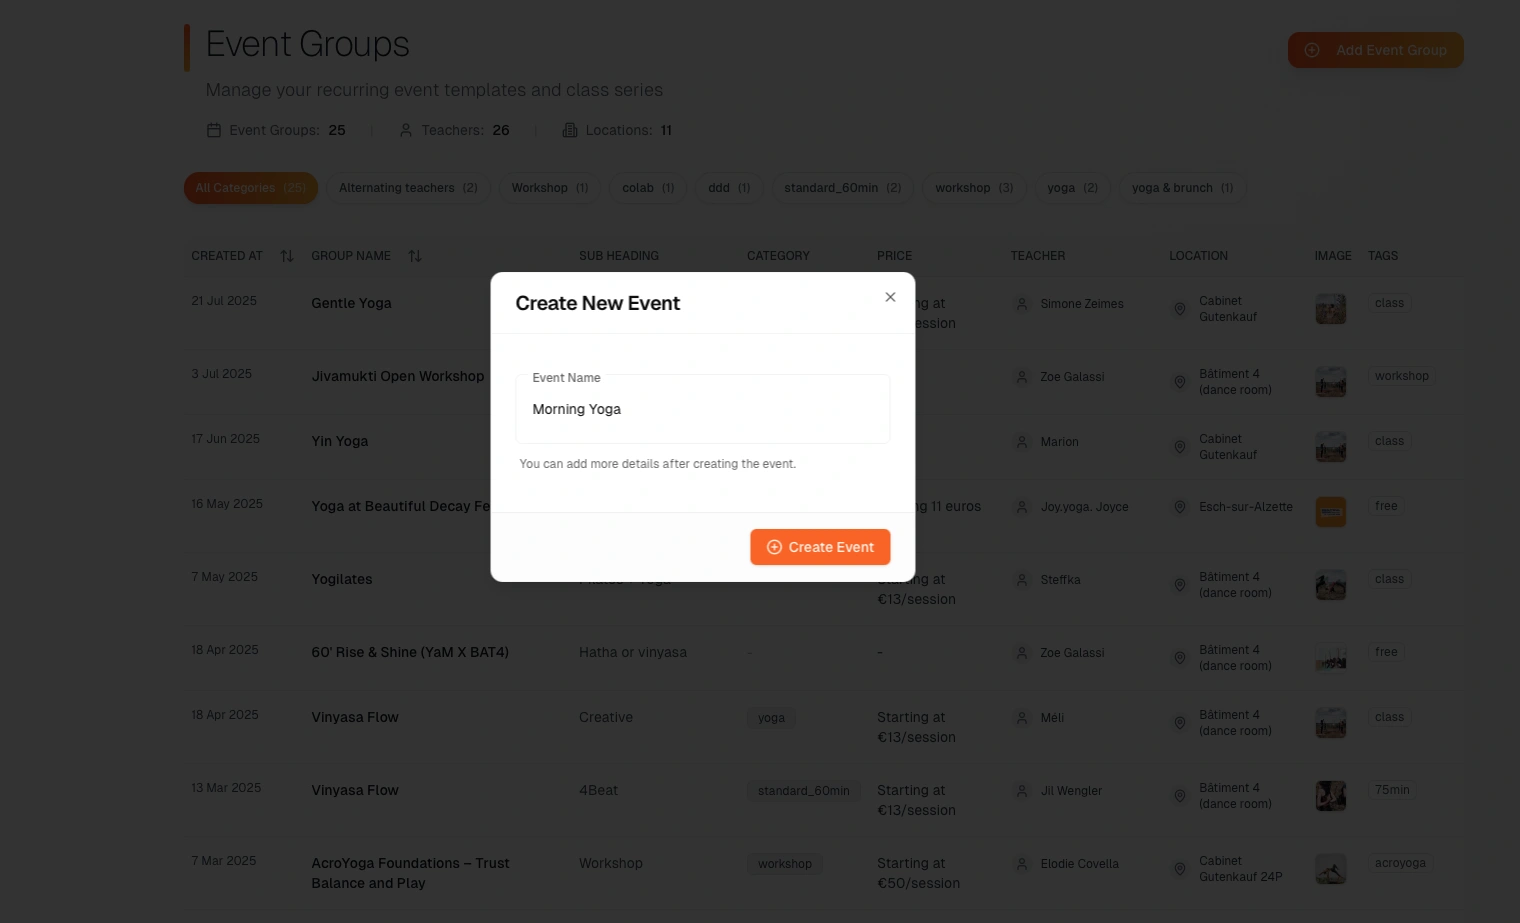
Navigate to Admin > Classes and click the "Add Class" button in the top right corner. Enter a name for your class and click "Create". You'll be redirected to the class settings page where you can configure all the details.
Class configuration#
Class image#
Upload one image per class by clicking the image upload area. Use the built-in crop preview before saving.
Recommended upload size
- 2400x1800 pixels (4:3)
Where your class image appears
- Web class cards and embedded class widgets: 4:3
- Web class detail and event booking hero: 16:9
- iOS event booking hero: taller crop (~1:1), varies by device width
Safe area guide
+---------------------------+
|         crop frame        |
|    +-----------------+    |
|    |   SAFE ZONE     |    |
|    +-----------------+    |
+---------------------------+
Keep important text, faces, and logos inside the center safe zone. Edge content is most likely to be cropped.
Technical Requirements
- Maximum file size: 5MB
- Supported formats: JPG, PNG, WEBP
- Use the crop + multi-preview panel to validate web and iOS visibility before saving
Basic information#
Class Name: Click the pencil icon next to the title to modify the class name at any time.
Sub-heading: Add an optional tagline that appears under your class title. Examples include "Beginner Friendly" or "All Levels Welcome".
Description: Write 2-3 sentences describing what customers can expect. Focus on what they'll learn or experience during the class.
Category: Assign your class to a category for organization and visual distinction on the calendar. Categories appear as colored left borders on the timetable, making it easy to identify activity types at a glance. Type a category name to search existing categories or create a new one. To manage category colors, go to Admin > Classes > Categories.
Teacher and location#
Teacher Assignment: Select the instructor for this class from the dropdown menu. If no teaching profiles appear, first confirm the person has access in Admin > Staff, then finish their setup in Admin > Teaching Operations.
Location Setup: Choose where the class takes place from the location dropdown. If the dropdown is empty, add locations first at Admin > Locations. See Manage Locations and Resources for setup instructions.
Room or Space: When you schedule the class, Naayya also expects a valid room or space assignment for the selected location. If the location uses resources, choose the correct room or space before saving the schedule.
Class tags#
Tags are internal labels used to automate teacher payouts, reporting, and other system calculations. Customers never see these tags.
How Tags Work
- Classes with identical tags receive the same teacher pay rates
- When calculating payouts, the system uses the first tag if multiple exist
- Tags group classes together for financial reporting and analytics
Common Tag Examples
premium-class- Higher payout rate for advanced or specialized sessionsbeginner-class- Standard rate for introductory classesworkshop- Special payout structure for one-time workshopsprivate-session- Custom rates for 1-on-1 instruction
Setting Up Tags Type a tag name and press Enter to add it. Use existing tags from the dropdown suggestions to ensure consistent payout calculations across similar classes. The first tag determines the pay rate when multiple tags are assigned.
Publishing classes#
Setting up the schedule#
Before customers can book, you need to create class instances. Go to the "Schedule" section and click "Add Class Schedule".
When scheduling:
- Set the start date and time plus the end time
- Confirm the teacher, location, and room or space assignment
- Choose whether this is a one-time event or a recurring series
- For recurring series, end the schedule either on a specific date or after a set number of occurrences
- Review the generated preview before saving
If you later extend a series, Naayya uses the same scheduling rules and still expects the class template to have the required teacher and location setup in place.
Configuring pricing#
Set up actual pricing in the "Class Products" section. Add at least one product, set the price, and configure payment options.
Going live#
Once you've configured the basic details, schedule, and pricing, click the "Go Live" button to make your class visible to customers. Classes remain hidden until you manually publish them.
Troubleshooting#
Changes won't save: Ensure all required fields are completed, including teacher, location, and any required room or space assignment for that location.
Class not visible: Verify you've selected the correct studio from the dropdown.
No booking button: Confirm you've added class instances in Schedule and set up products in Class Products, then clicked "Go Live".
Blurry images: Upload a larger source image (2400x1800px recommended) under 5MB.
Best practices#
Start with the essentials: class name, teacher, and location. You can always add more details later. Test the booking process by creating a test booking to ensure everything works correctly. Consider duplicating successful classes to save time when creating similar offerings.
One class with multiple sessions vs. separate classes#
When you add multiple sessions to a single class, they all appear under one listing. This is ideal for recurring weekly classes (e.g., "Monday Yoga" at the same time each week).
If you want each session to appear as its own card on your classes page, for example two different workshops on the same day, create them as separate classes instead. Each class gets its own card, image, and description, making it easier for customers to find and book the specific session they want.
Pro tip: Share your calendar page link on social media. The calendar shows all sessions in one view, so customers can see everything you offer and book directly from their phone.